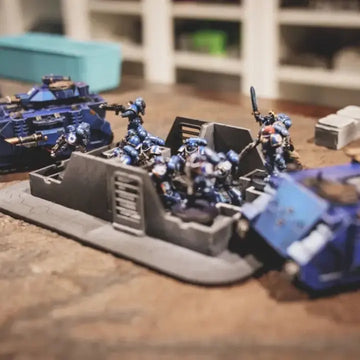
Bring Your 3D Printed Terrain to Life with Color
Painting is the final step that makes your 3D printed terrain pop. Even simple paint jobs can turn plastic into stone, wood, or metal.
Basic Tools You’ll Need
-
Acrylic paints (start with earth tones)
-
Brushes (large and detail)
-
Primer and sealer
-
Drybrushing sponge or old brush
Painting Steps
-
Prime it – Spray or brush-on primer for adhesion.
-
Base coat – Lay down the main color (gray for stone, brown for wood).
-
Shading – Add depth with darker washes.
-
Highlights – Drybrush lighter tones for texture.
-
Seal it – Use matte or satin sealer for protection.

